> ## Documentation Index
> Fetch the complete documentation index at: https://docs.risingwave.com/llms.txt
> Use this file to discover all available pages before exploring further.
# Connect Bytebase to RisingWave
> Introduce how to integrate Bytebase with RisingWave for schema management.
[Bytebase](https://www.bytebase.com/) is a database DevOps tool that provides a streamlined way to manage schema changes, enforce best practices, and collaborate on database development. This guide explains how to integrate Bytebase with RisingWave to manage schema evolution in real-time data processing environments.
## Prerequisites
Before you begin, ensure you have the following:
* A running instance of **RisingWave** (self-hosted or Cloud version).
* A **Bytebase** instance (self-hosted or Cloud version).
* Database user credentials with the necessary privileges in RisingWave.
## Step 1: Set up RisingWave
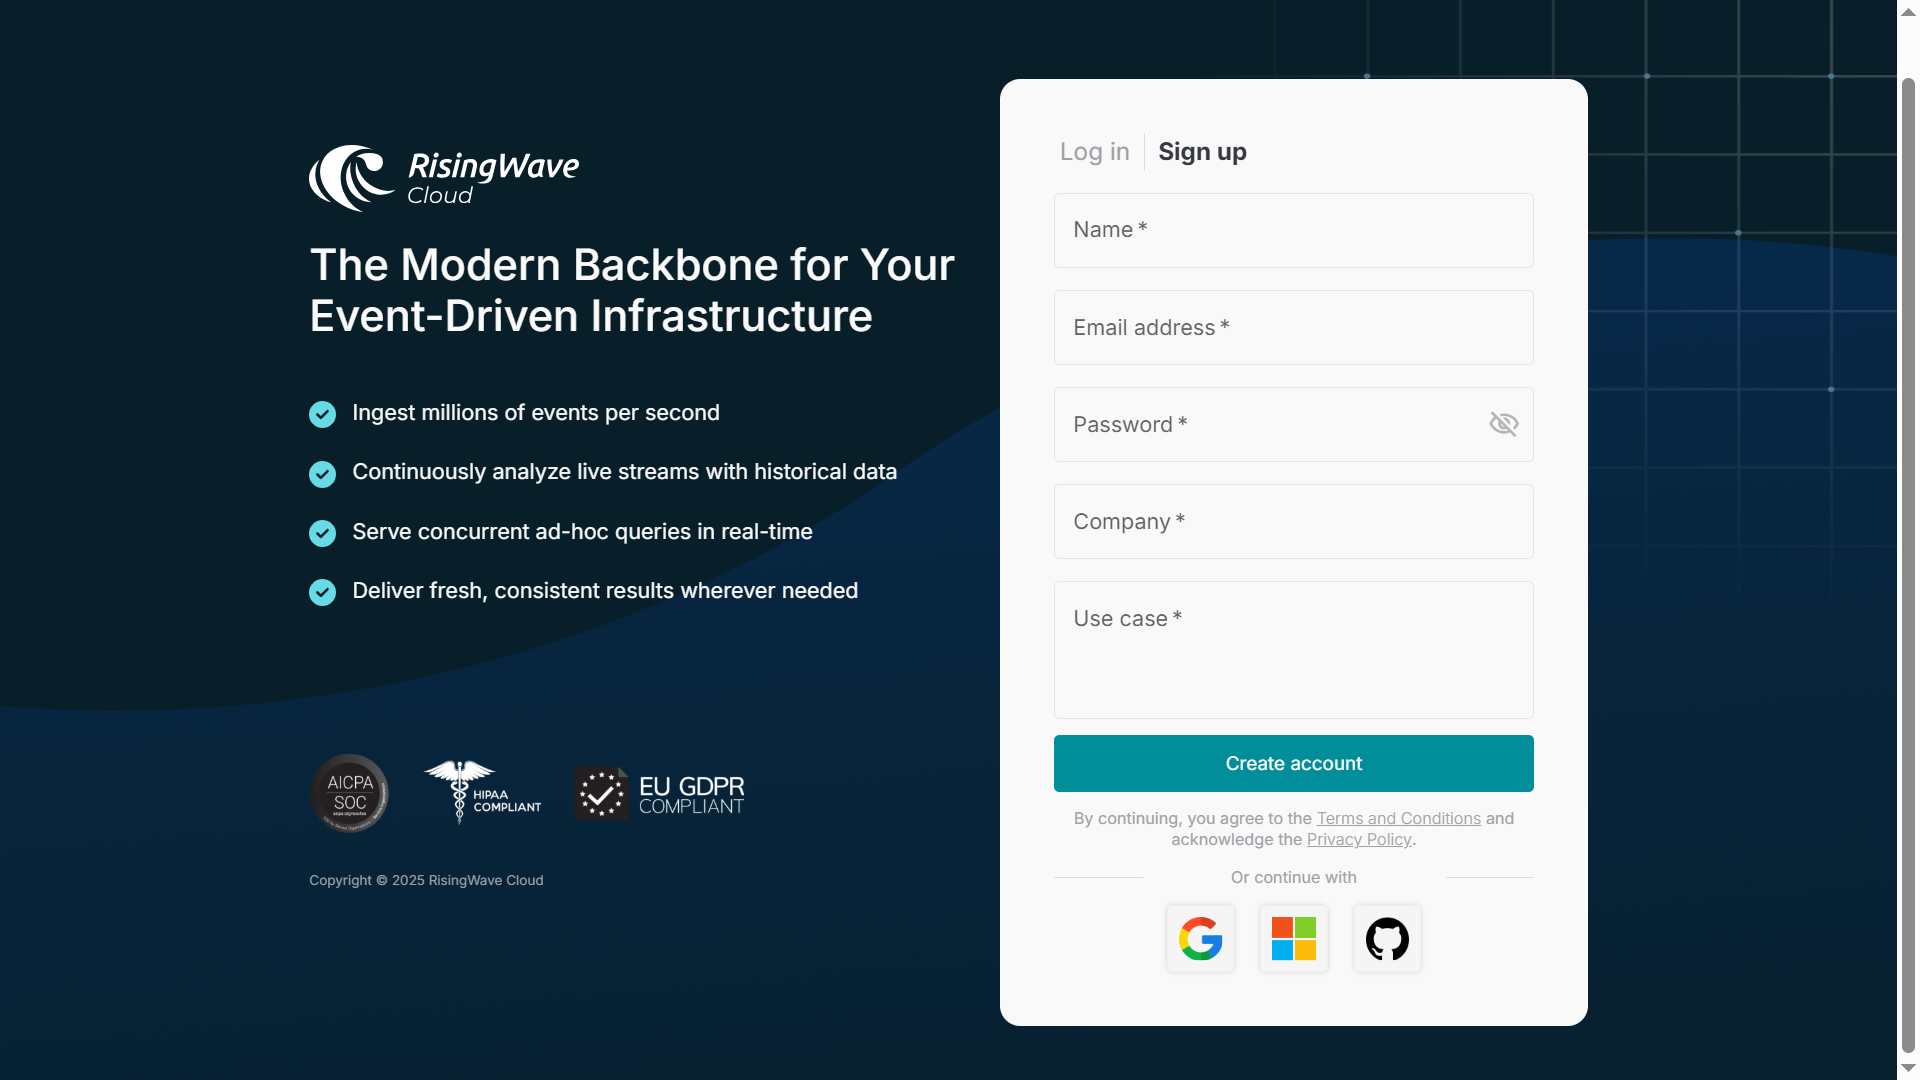
Create a RisingWave cluster in [RisingWave Cloud](https://cloud.risingwave.com/) using the free plan. For more information, refer to the [RisingWave Cloud documentation](https://docs.risingwave.com/cloud/manage-projects).
 ## Step 2: Install and configure Bytebase
You can run Bytebase using Docker or use Bytebase Cloud:
```
docker run --rm --init \
--name bytebase \
--publish 8080:8080 --pull always \
--volume ~/.bytebase/data:/var/opt/bytebase \
bytebase/bytebase:3.5.0
```
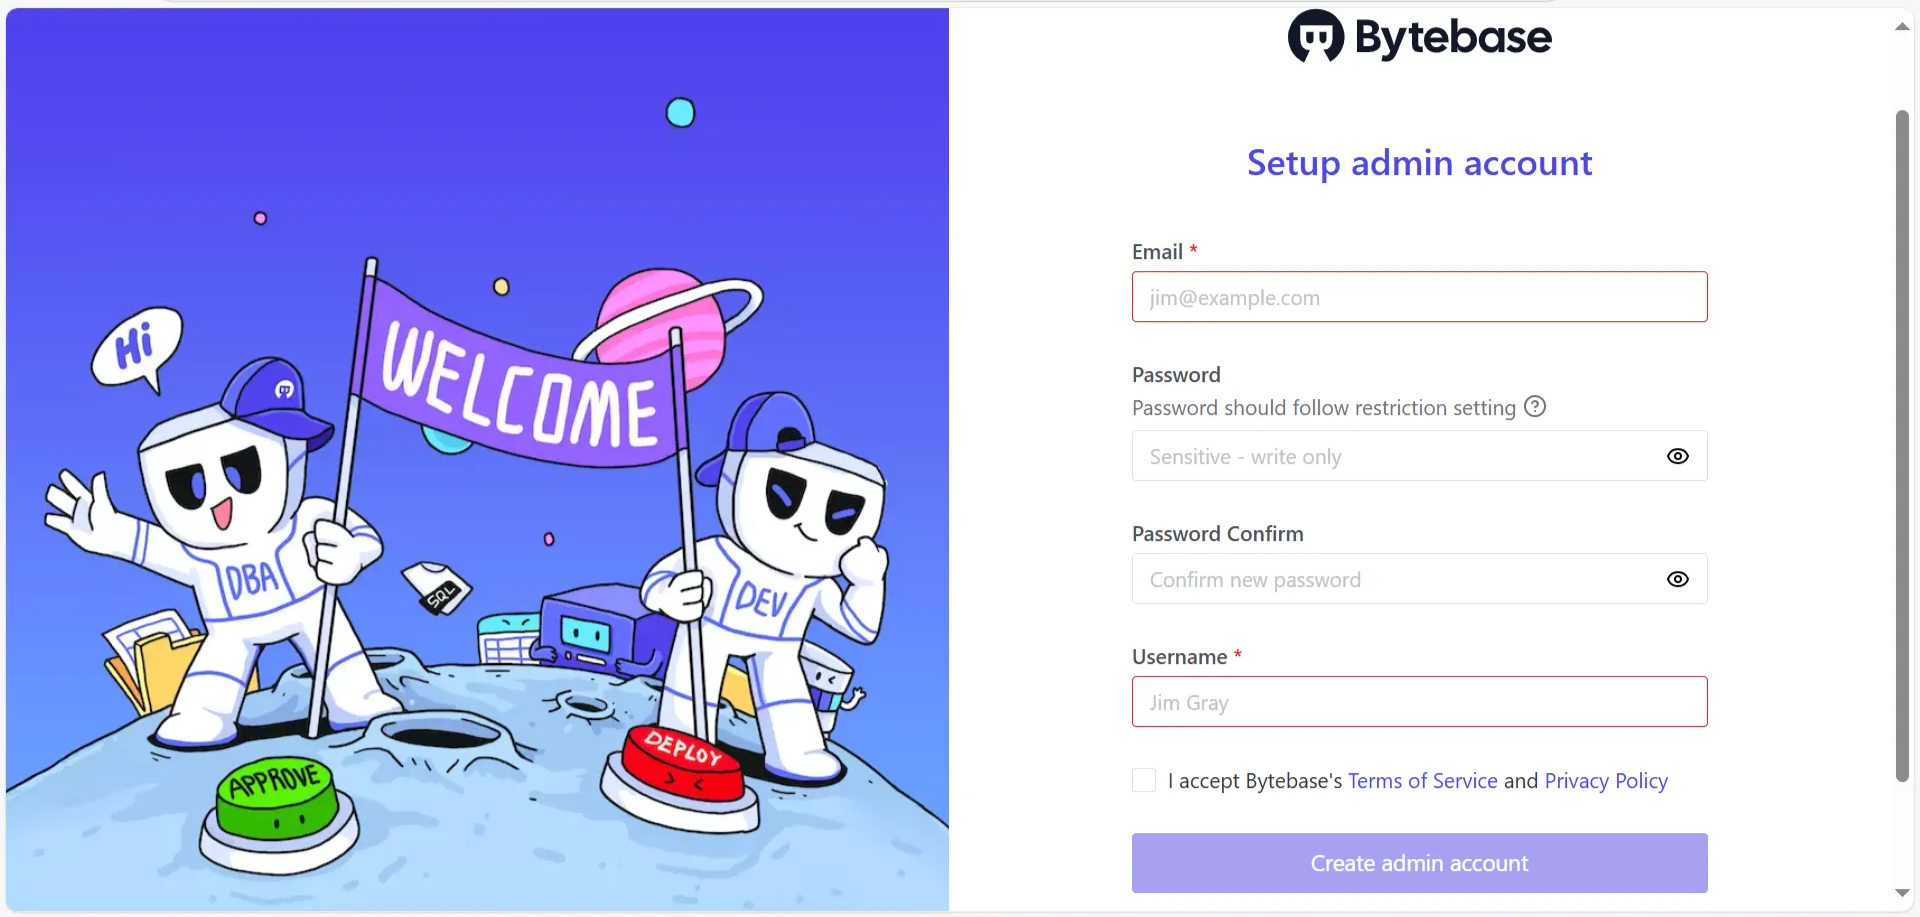
Access Bytebase UI at `http://localhost:8080` and set up an admin account.
## Step 2: Install and configure Bytebase
You can run Bytebase using Docker or use Bytebase Cloud:
```
docker run --rm --init \
--name bytebase \
--publish 8080:8080 --pull always \
--volume ~/.bytebase/data:/var/opt/bytebase \
bytebase/bytebase:3.5.0
```
Access Bytebase UI at `http://localhost:8080` and set up an admin account.
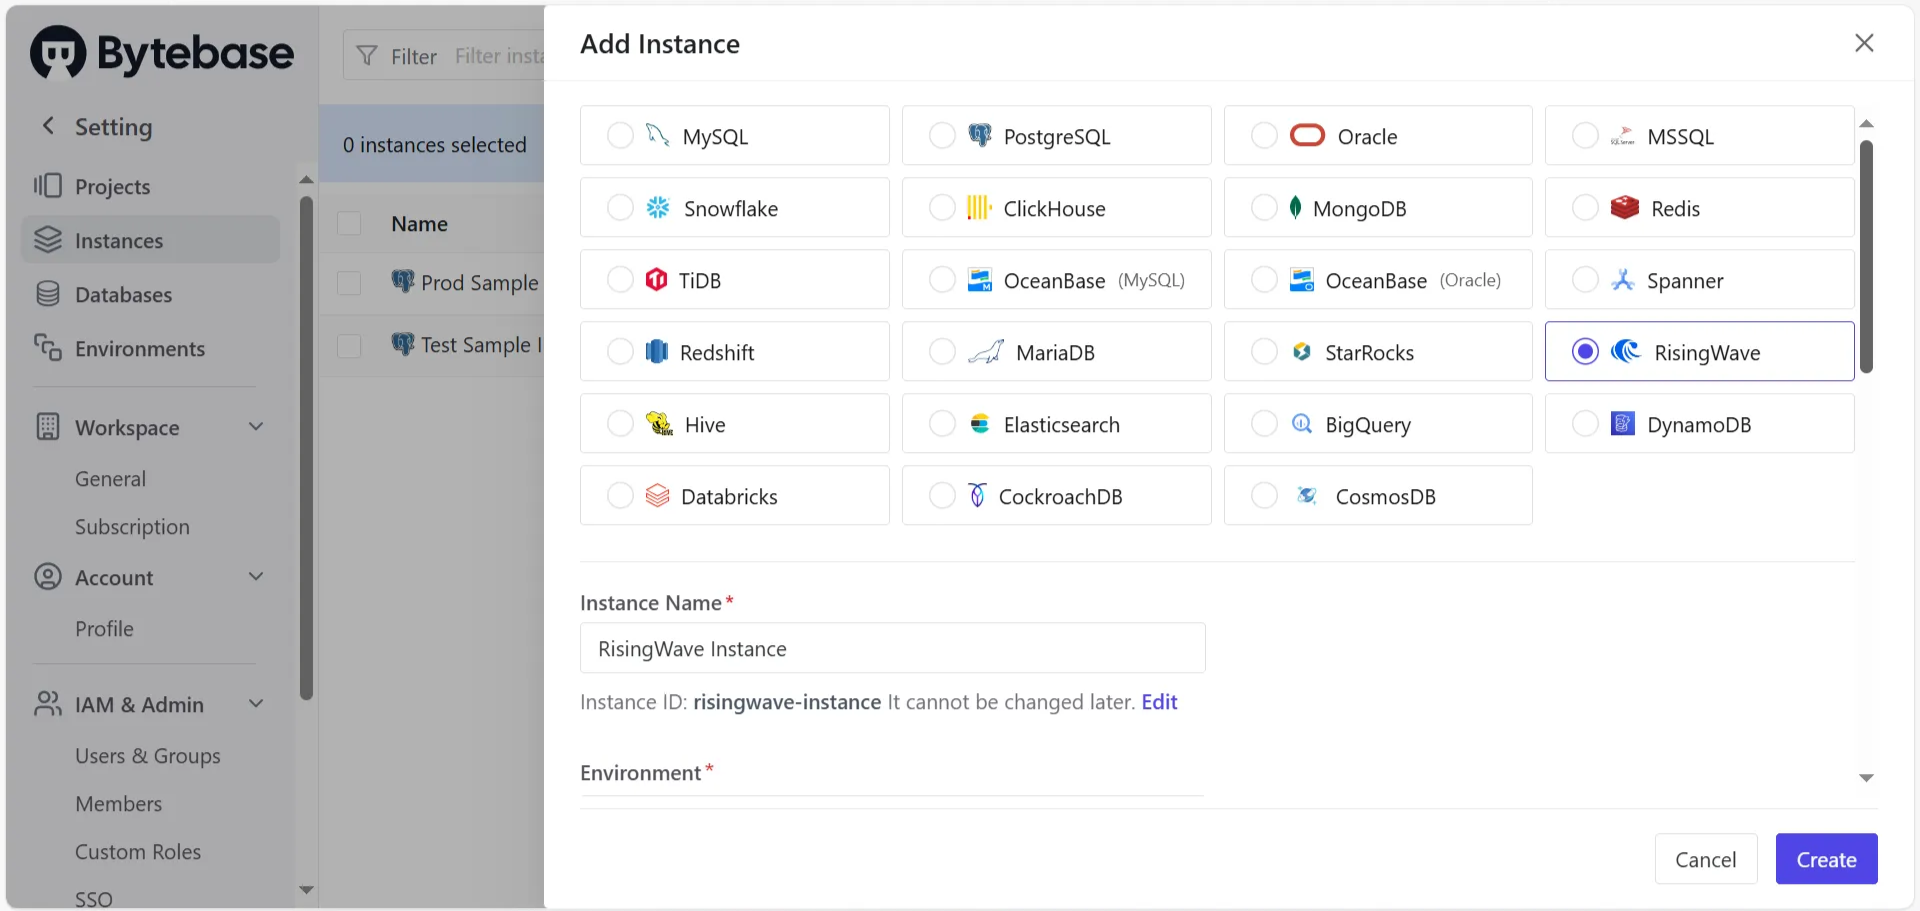
 Then, add RisingWave as a new database:
1. Go to **Instances** > **Add Instance**.
2. Select RisingWave as the Instance type (since RisingWave is supported by Bytebase).
3. Enter the following connection details:
* **Instance Name:** Any random name
* **Environment:** `Test`
* **Host or Socket:** `localhost` or RisingWave Cloud’s instance host
* **Port:** `4566`
* **Username:** **`bytebase` (the super user that you created)**
* **Password:** The password you set for the `bytebase` user
4. Click **Test Connection** to verify, then click on **Create** at the end.
Then, add RisingWave as a new database:
1. Go to **Instances** > **Add Instance**.
2. Select RisingWave as the Instance type (since RisingWave is supported by Bytebase).
3. Enter the following connection details:
* **Instance Name:** Any random name
* **Environment:** `Test`
* **Host or Socket:** `localhost` or RisingWave Cloud’s instance host
* **Port:** `4566`
* **Username:** **`bytebase` (the super user that you created)**
* **Password:** The password you set for the `bytebase` user
4. Click **Test Connection** to verify, then click on **Create** at the end.
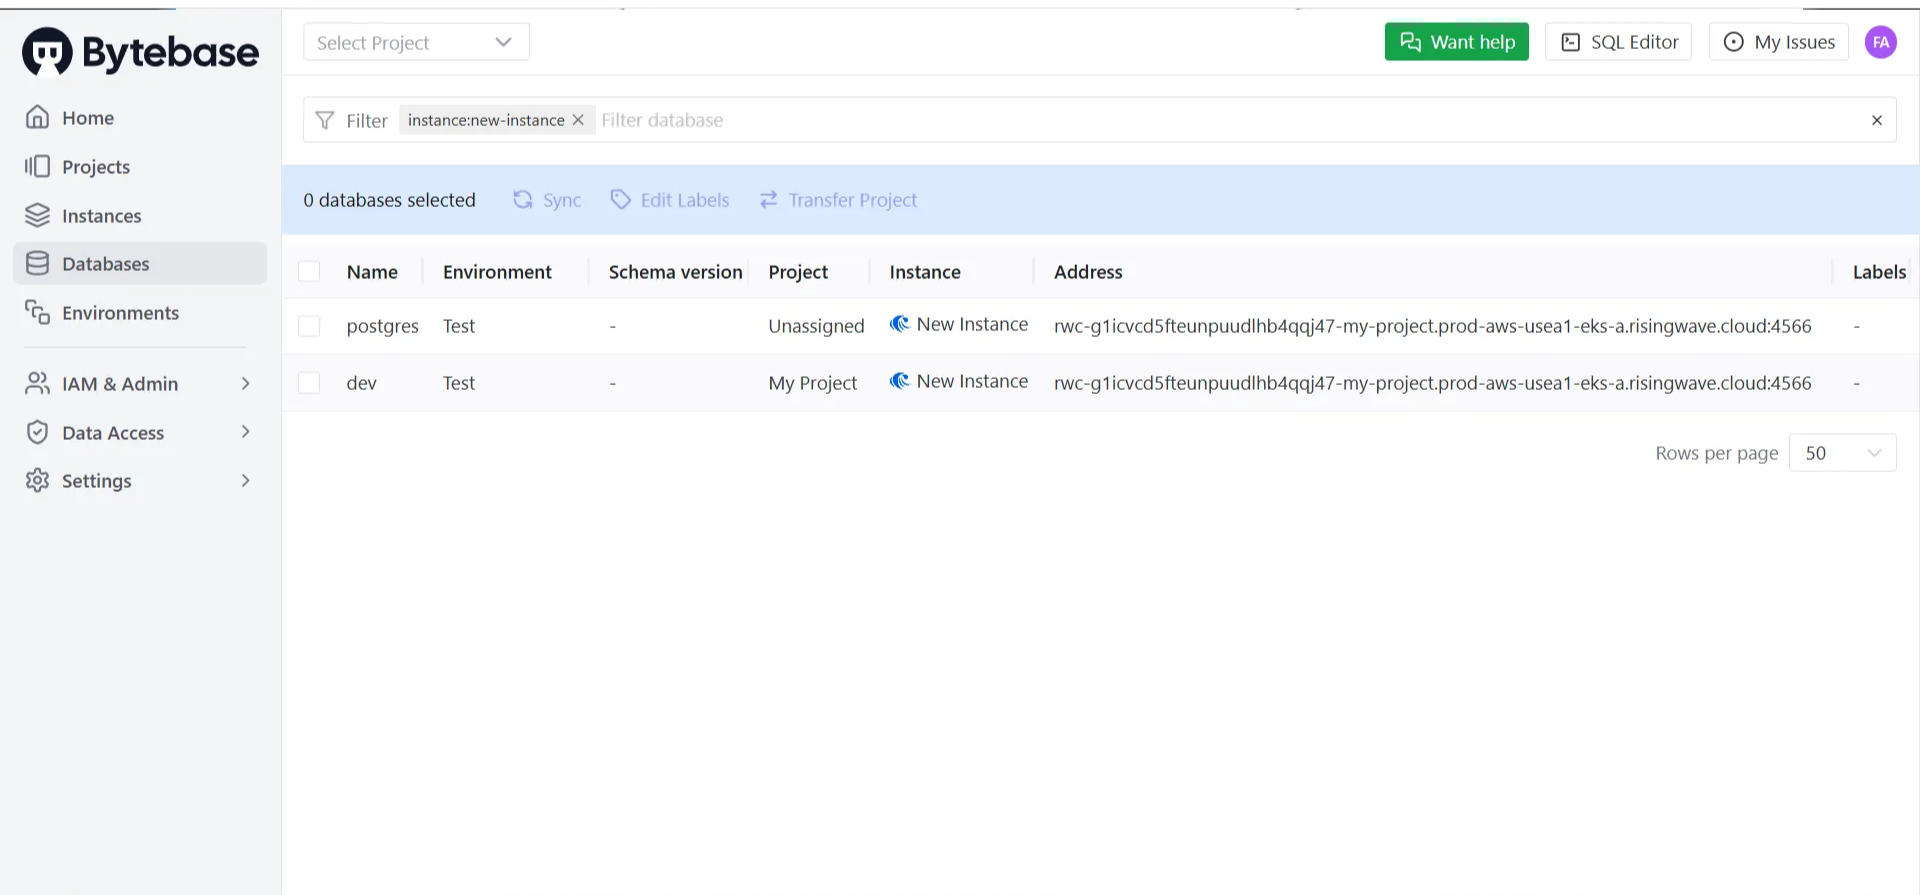
 After creating the RisingWave instance, you will see the RisingWave databases under the **Databases** section as follows:
 ## Step 3: Manage schema changes with Bytebase
### Create a schema migration
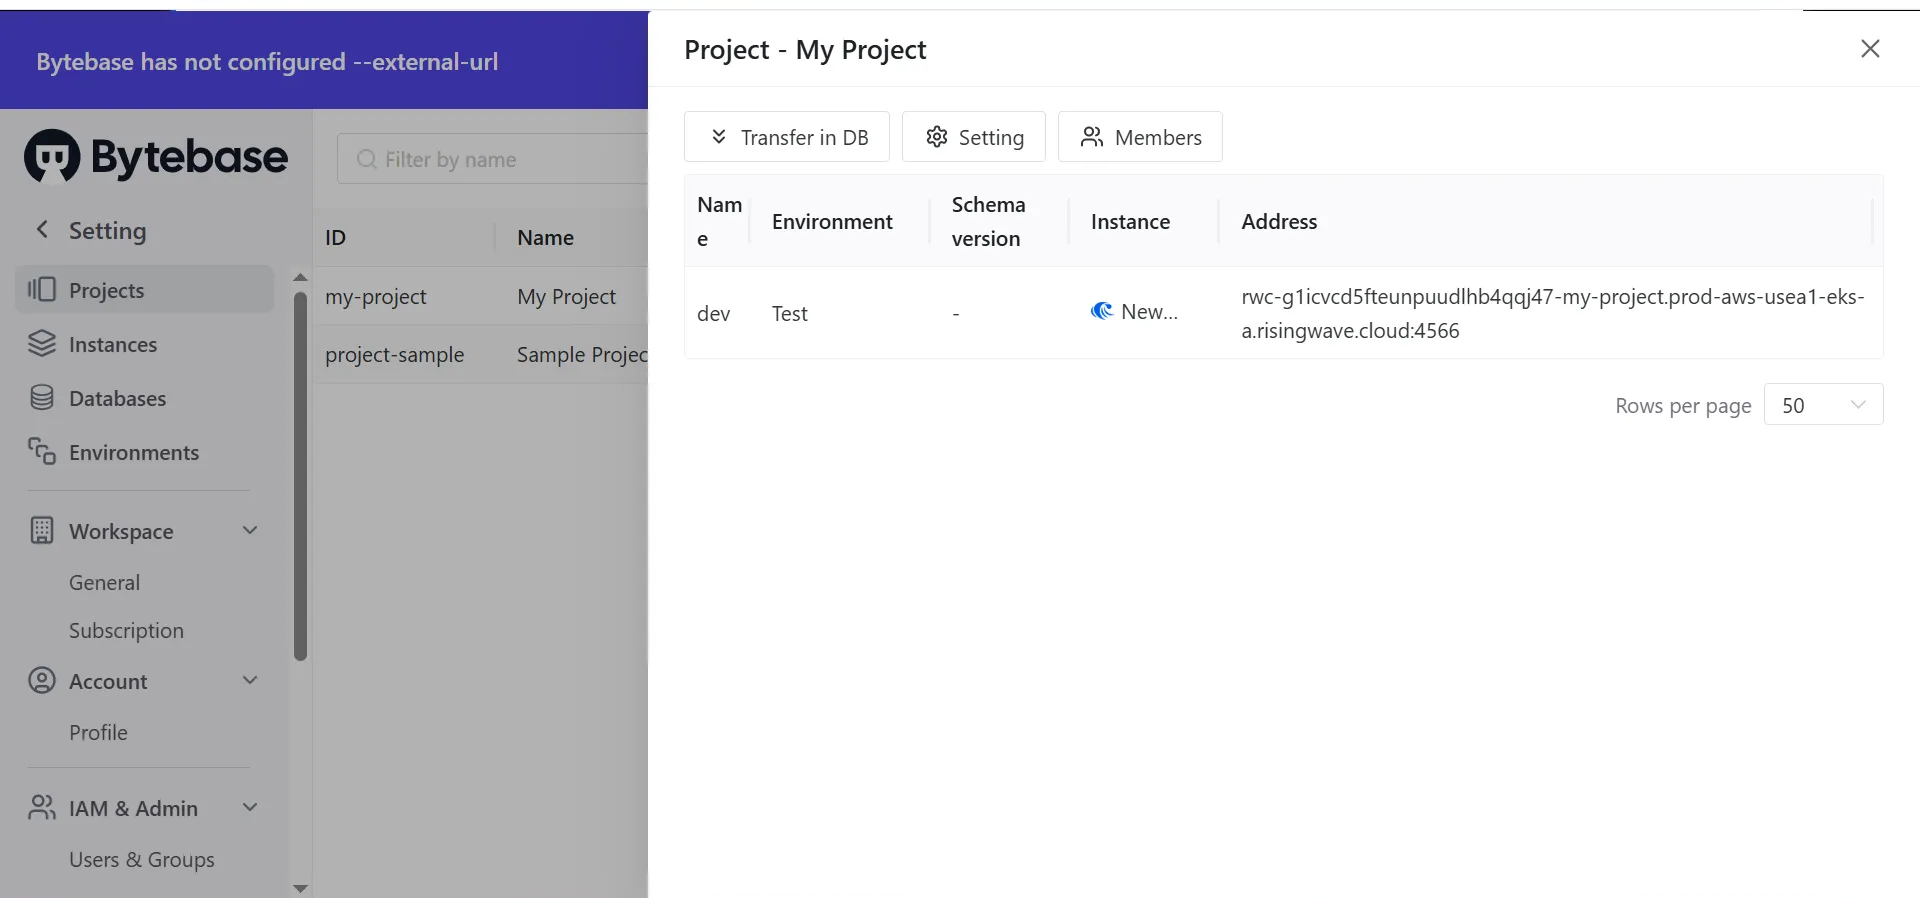
1. In Bytebase, go to **Projects** and create a new project.
2. After creating the new project, click on it, then select **Transfer DB** and choose the RisingWave database named **dev**. This will transfer the database to the project.
## Step 3: Manage schema changes with Bytebase
### Create a schema migration
1. In Bytebase, go to **Projects** and create a new project.
2. After creating the new project, click on it, then select **Transfer DB** and choose the RisingWave database named **dev**. This will transfer the database to the project.
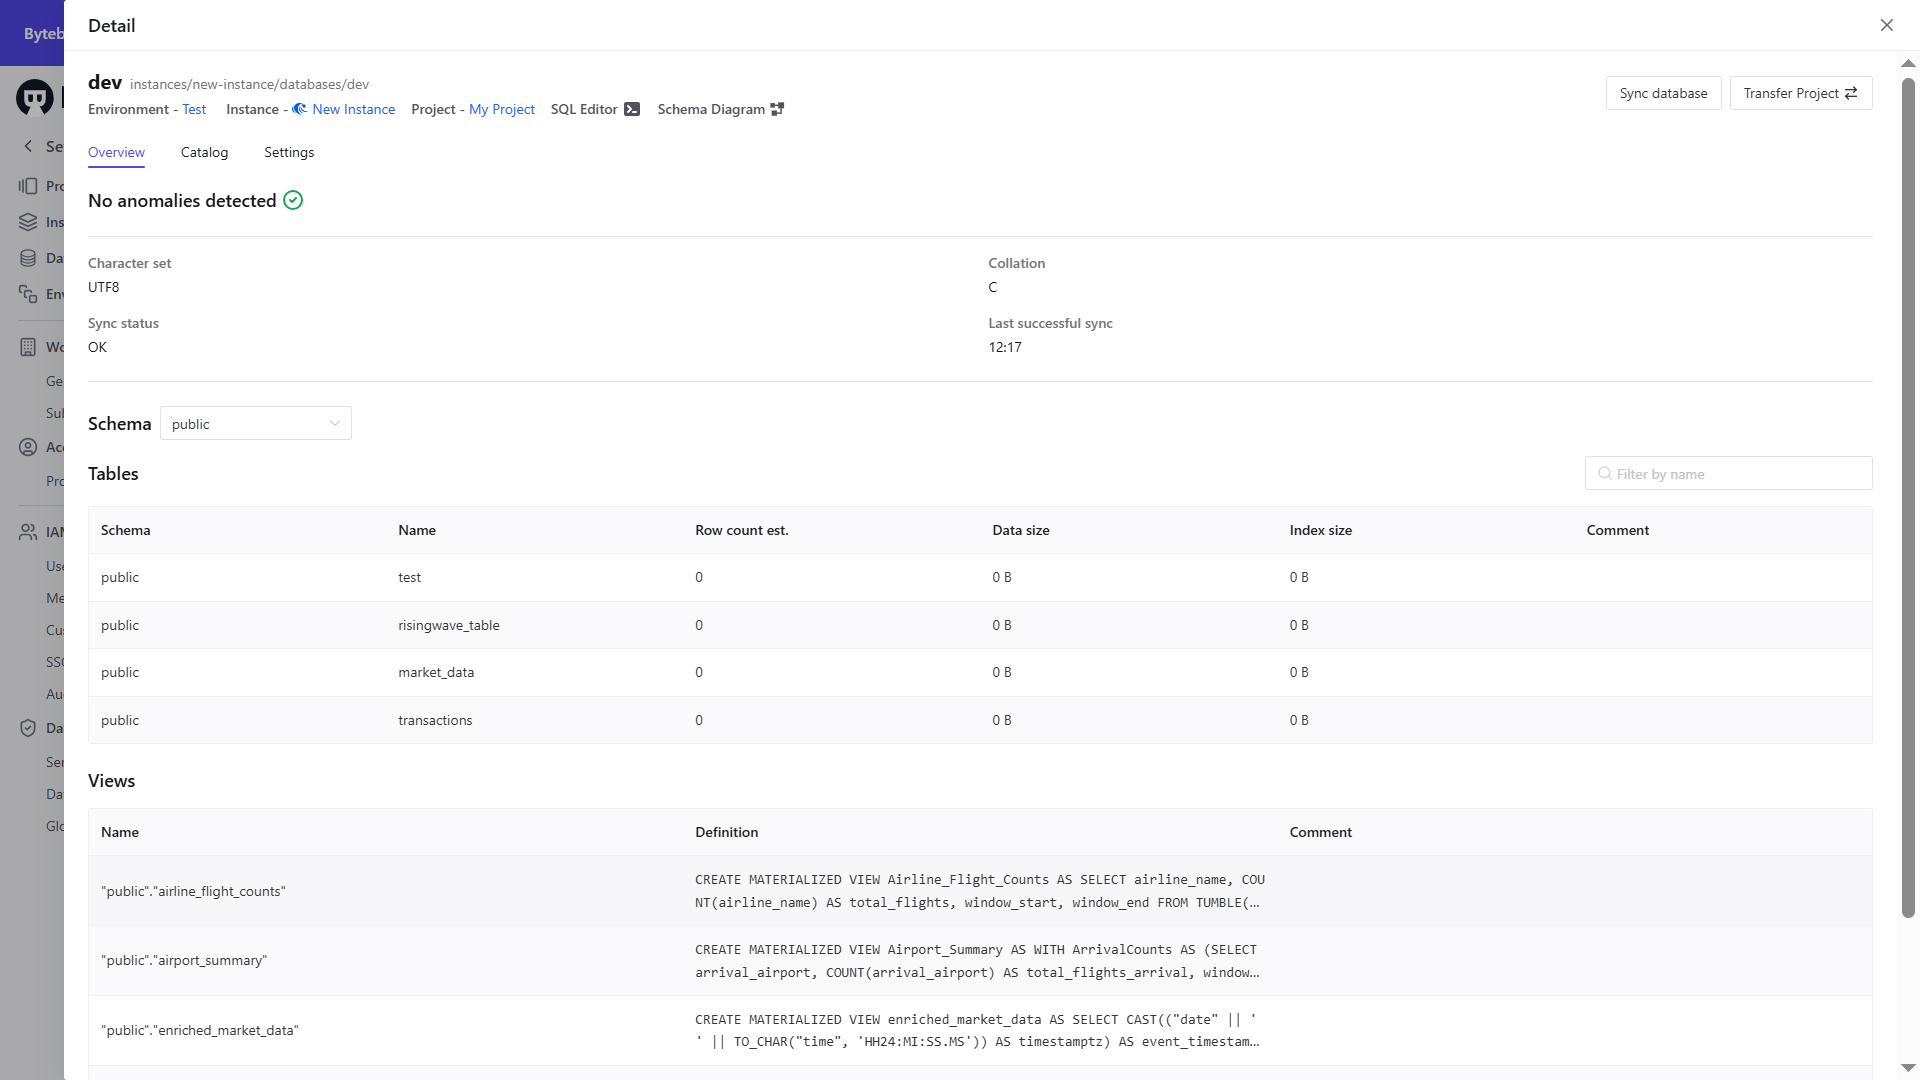
 3. Click on the new database instance to view all its details, the **Schema Diagram**, and open the **SQL Editor**.
 4. Click on **SQL Editor** and use the following SQL script to create a table in RisingWave in **Admin Mode**:
```sql theme={null}
-- Step 1: Create the transactions table
CREATE TABLE transactions (
transaction_id INT,
customer_id INT,
transaction_type VARCHAR,
amount DECIMAL,
currency VARCHAR,
transaction_tp TIMESTAMP,
transaction_status VARCHAR
);
-- Step 2: Insert sample data into the transactions table
INSERT INTO transactions (transaction_id, customer_id, transaction_type, amount, currency, transaction_tp, transaction_status) VALUES
(1, 101, 'Deposit', 500.00, 'USD', '2024-03-15 09:30:00', 'Completed'),
(2, 102, 'Withdrawal', 200.00, 'EUR', '2024-03-15 10:15:00', 'Pending'),
(3, 103, 'Transfer', 1000.00, 'GBP', '2024-03-15 11:00:00', 'Completed'),
(4, 104, 'Deposit', 250.50, 'INR', '2024-03-15 12:45:00', 'Failed'),
(5, 105, 'Withdrawal', 750.75, 'USD', '2024-03-15 14:20:00', 'Completed'),
(6, 106, 'Transfer', 5000.00, 'EUR', '2024-03-15 15:30:00', 'Pending');
-- Step 3: Show data insertion
SELECT * FROM transactions;
```
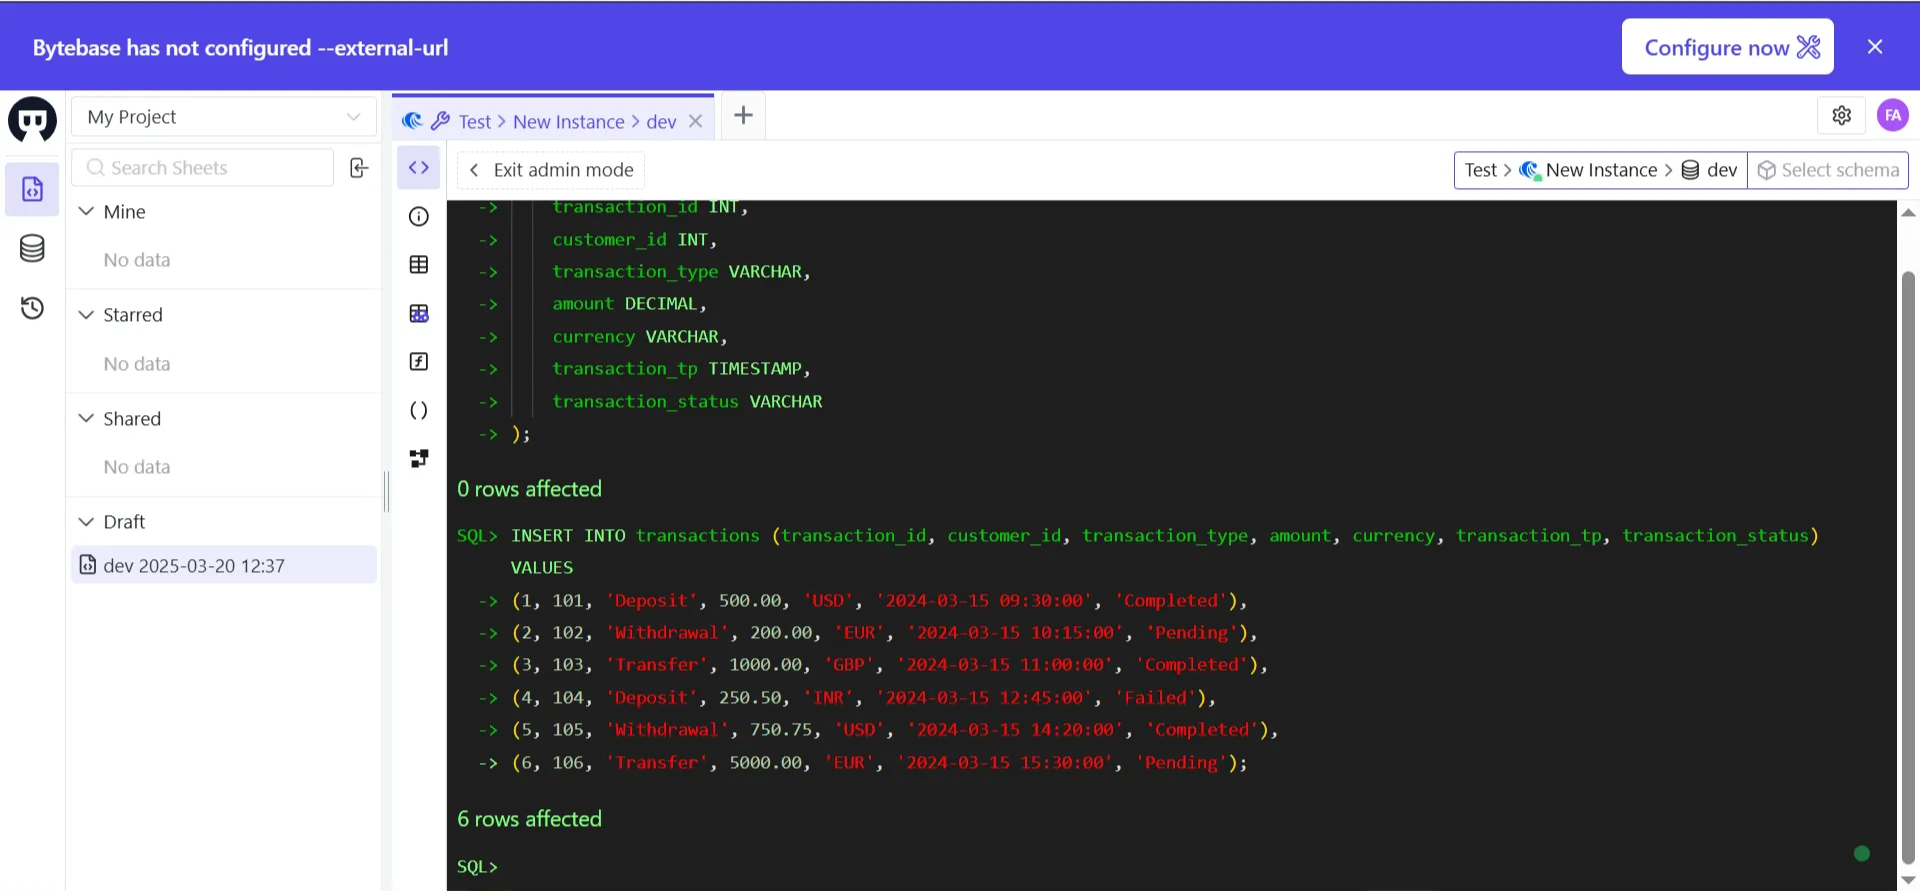
Below is the SQL Editor of Bytebase:
4. Click on **SQL Editor** and use the following SQL script to create a table in RisingWave in **Admin Mode**:
```sql theme={null}
-- Step 1: Create the transactions table
CREATE TABLE transactions (
transaction_id INT,
customer_id INT,
transaction_type VARCHAR,
amount DECIMAL,
currency VARCHAR,
transaction_tp TIMESTAMP,
transaction_status VARCHAR
);
-- Step 2: Insert sample data into the transactions table
INSERT INTO transactions (transaction_id, customer_id, transaction_type, amount, currency, transaction_tp, transaction_status) VALUES
(1, 101, 'Deposit', 500.00, 'USD', '2024-03-15 09:30:00', 'Completed'),
(2, 102, 'Withdrawal', 200.00, 'EUR', '2024-03-15 10:15:00', 'Pending'),
(3, 103, 'Transfer', 1000.00, 'GBP', '2024-03-15 11:00:00', 'Completed'),
(4, 104, 'Deposit', 250.50, 'INR', '2024-03-15 12:45:00', 'Failed'),
(5, 105, 'Withdrawal', 750.75, 'USD', '2024-03-15 14:20:00', 'Completed'),
(6, 106, 'Transfer', 5000.00, 'EUR', '2024-03-15 15:30:00', 'Pending');
-- Step 3: Show data insertion
SELECT * FROM transactions;
```
Below is the SQL Editor of Bytebase:
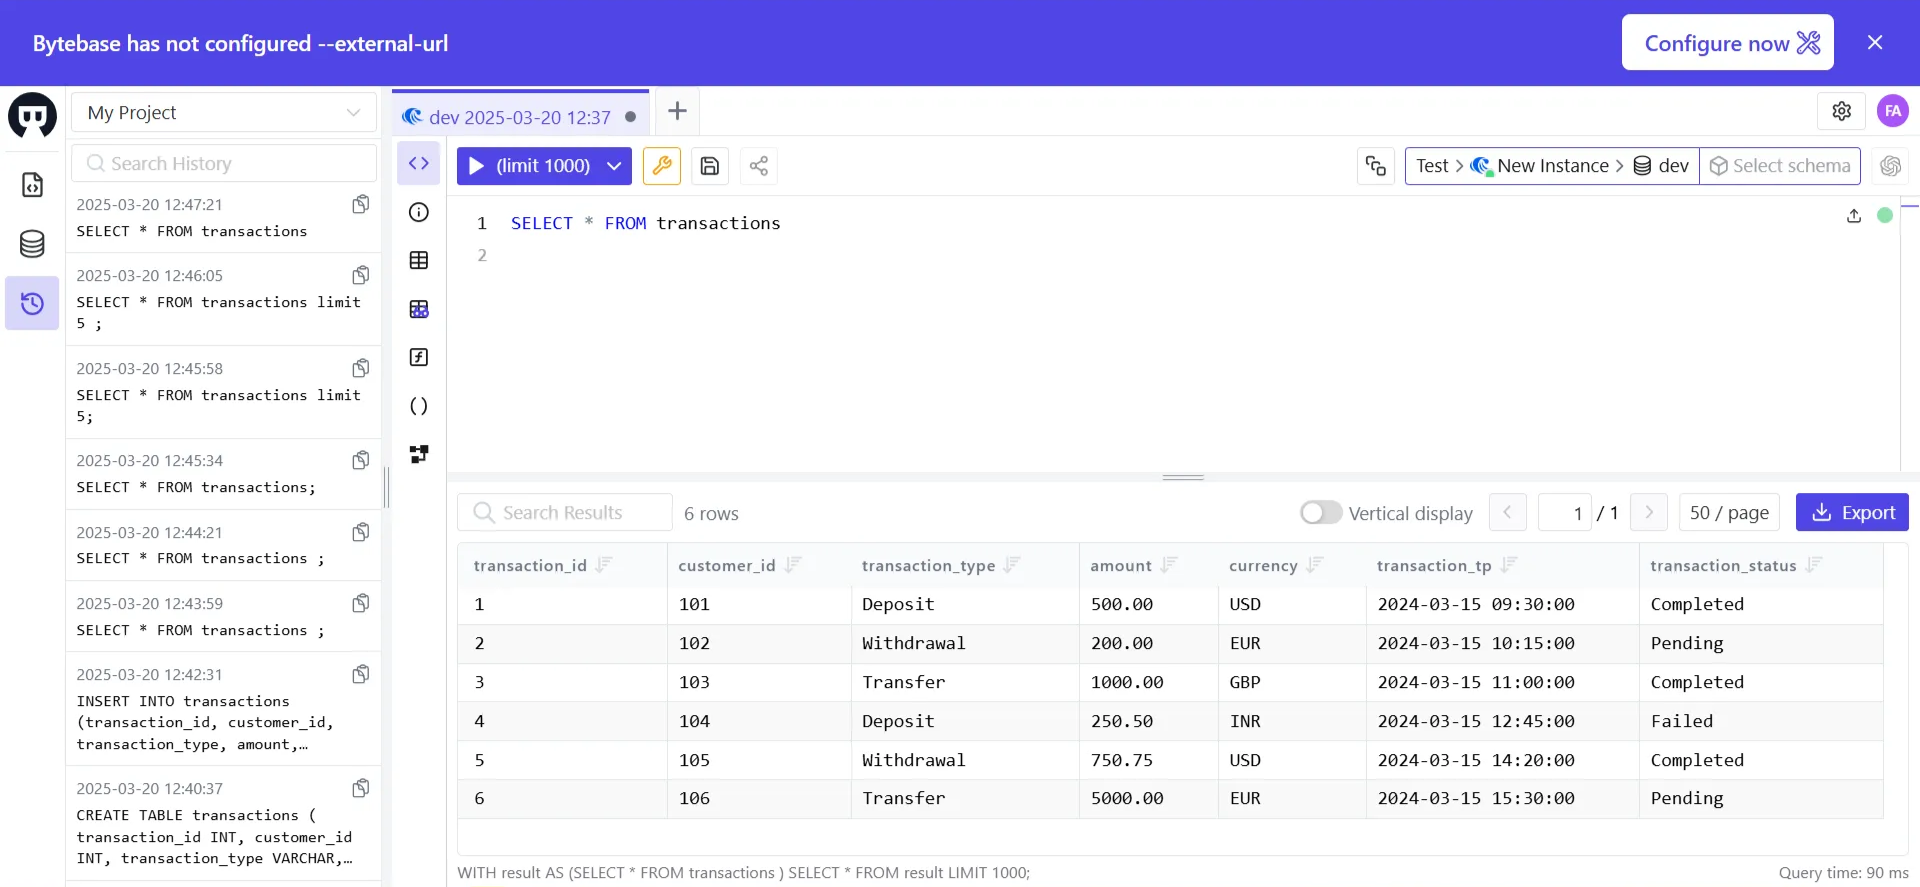
 Below is the result when querying the table in Bytebase's SQL editor:
 ### Track schema versions
Bytebase maintains a record of schema changes history, allowing you to:
* Track schema changes
* Roll back problematic migrations
* Enforce approval workflows for schema modifications
## Step 4: Automate schema deployments
You can integrate Bytebase with CI/CD pipelines for automated schema deployments:
### Use the Bytebase API
Bytebase provides gRPC and RESTful APIs, enabling full automation of database workflows. The UI console itself runs on this API, allowing seamless integration with your internal developer platform.
Key capabilities:
* **SQL lint**: Enforce SQL best practices.
* **Database change deployment**: Streamline schema changes.
* **Embedded SQL Editor**: Execute and validate queries.
### GitOps integration
Bytebase supports GitOps workflows, allowing schema changes via pull requests. Connect your repository and configure automatic deployment rules.
## Conclusion
By integrating Bytebase with RisingWave, you can efficiently manage schema changes, enforce best practices, and improve collaboration in real-time data streaming applications. This setup ensures schema consistency and reduces errors in production deployments.
For more information on leveraging Bytebase and its features, see [Bytebase Documentation](https://www.bytebase.com/docs).
### Track schema versions
Bytebase maintains a record of schema changes history, allowing you to:
* Track schema changes
* Roll back problematic migrations
* Enforce approval workflows for schema modifications
## Step 4: Automate schema deployments
You can integrate Bytebase with CI/CD pipelines for automated schema deployments:
### Use the Bytebase API
Bytebase provides gRPC and RESTful APIs, enabling full automation of database workflows. The UI console itself runs on this API, allowing seamless integration with your internal developer platform.
Key capabilities:
* **SQL lint**: Enforce SQL best practices.
* **Database change deployment**: Streamline schema changes.
* **Embedded SQL Editor**: Execute and validate queries.
### GitOps integration
Bytebase supports GitOps workflows, allowing schema changes via pull requests. Connect your repository and configure automatic deployment rules.
## Conclusion
By integrating Bytebase with RisingWave, you can efficiently manage schema changes, enforce best practices, and improve collaboration in real-time data streaming applications. This setup ensures schema consistency and reduces errors in production deployments.
For more information on leveraging Bytebase and its features, see [Bytebase Documentation](https://www.bytebase.com/docs).