Set up Kafka on Confluent Cloud

Create a Kafka cluster

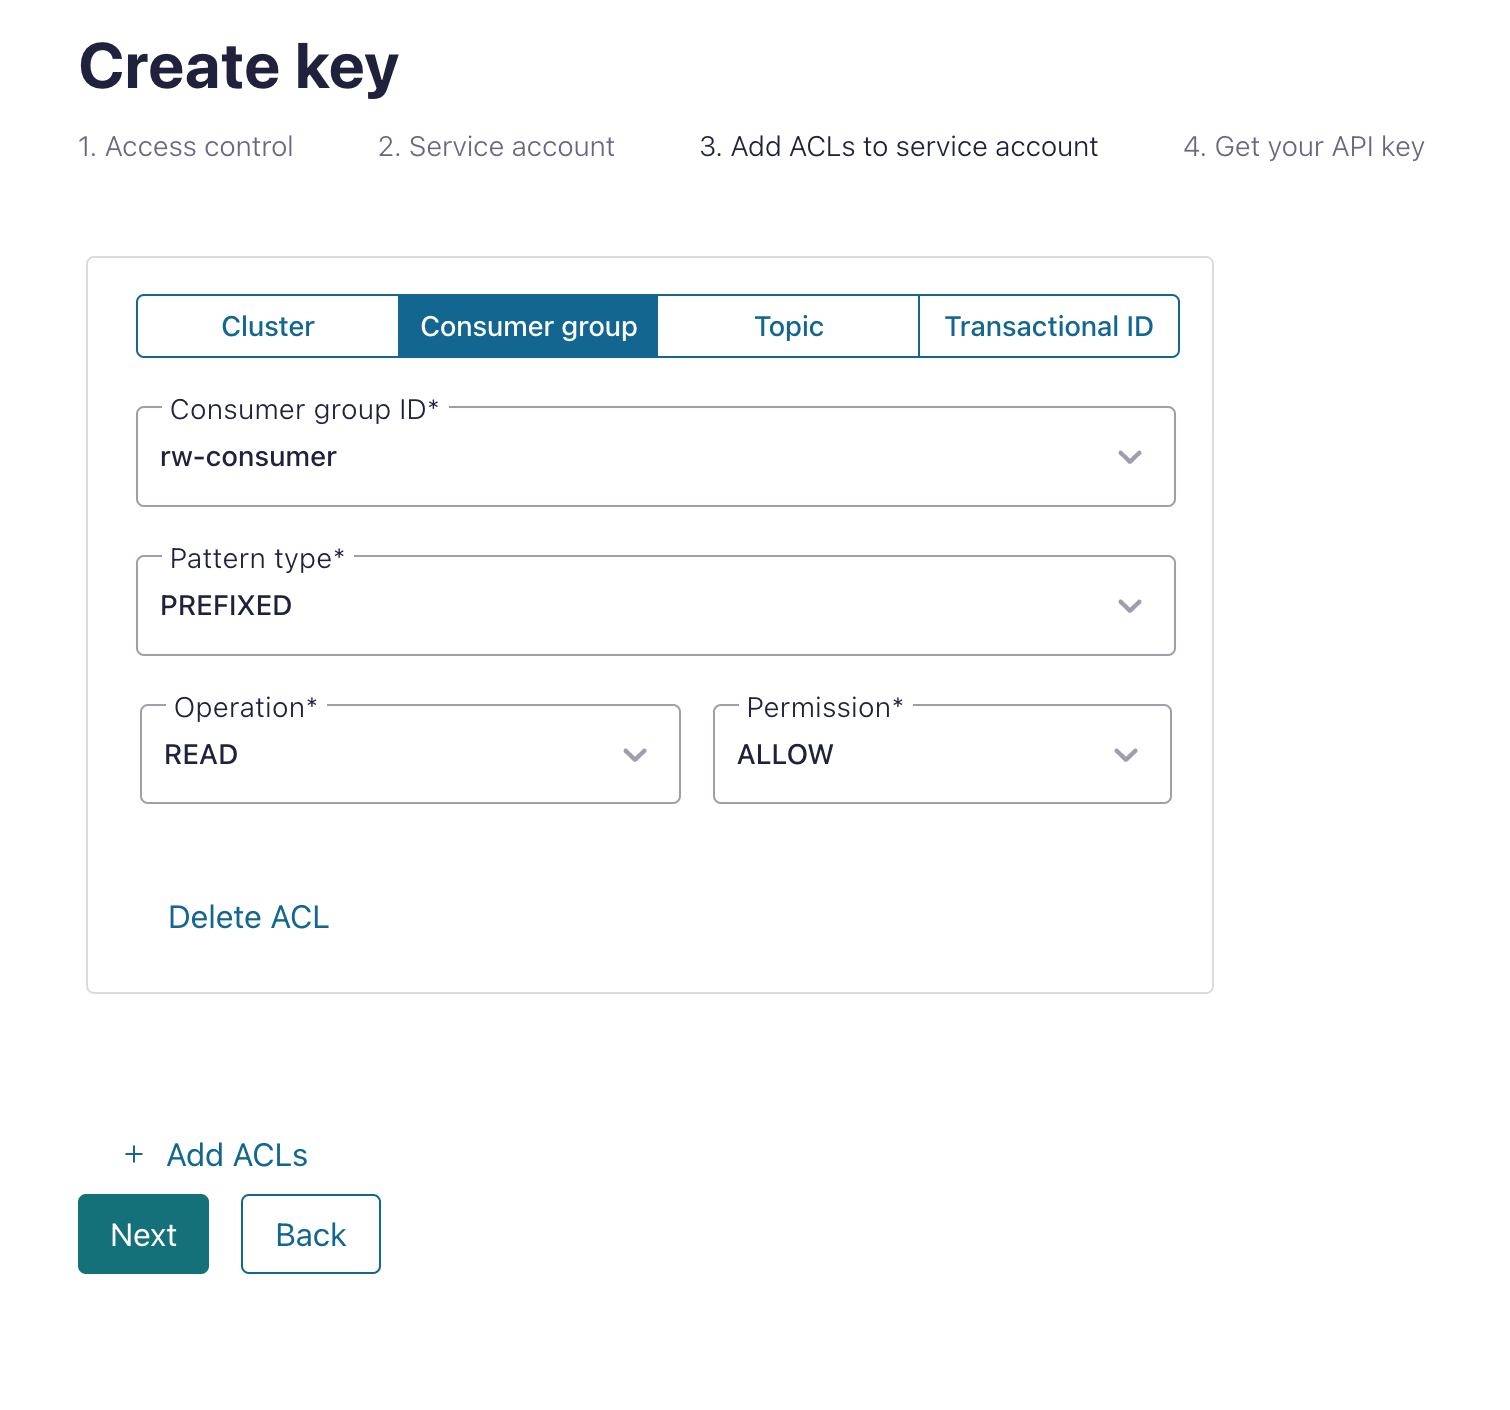
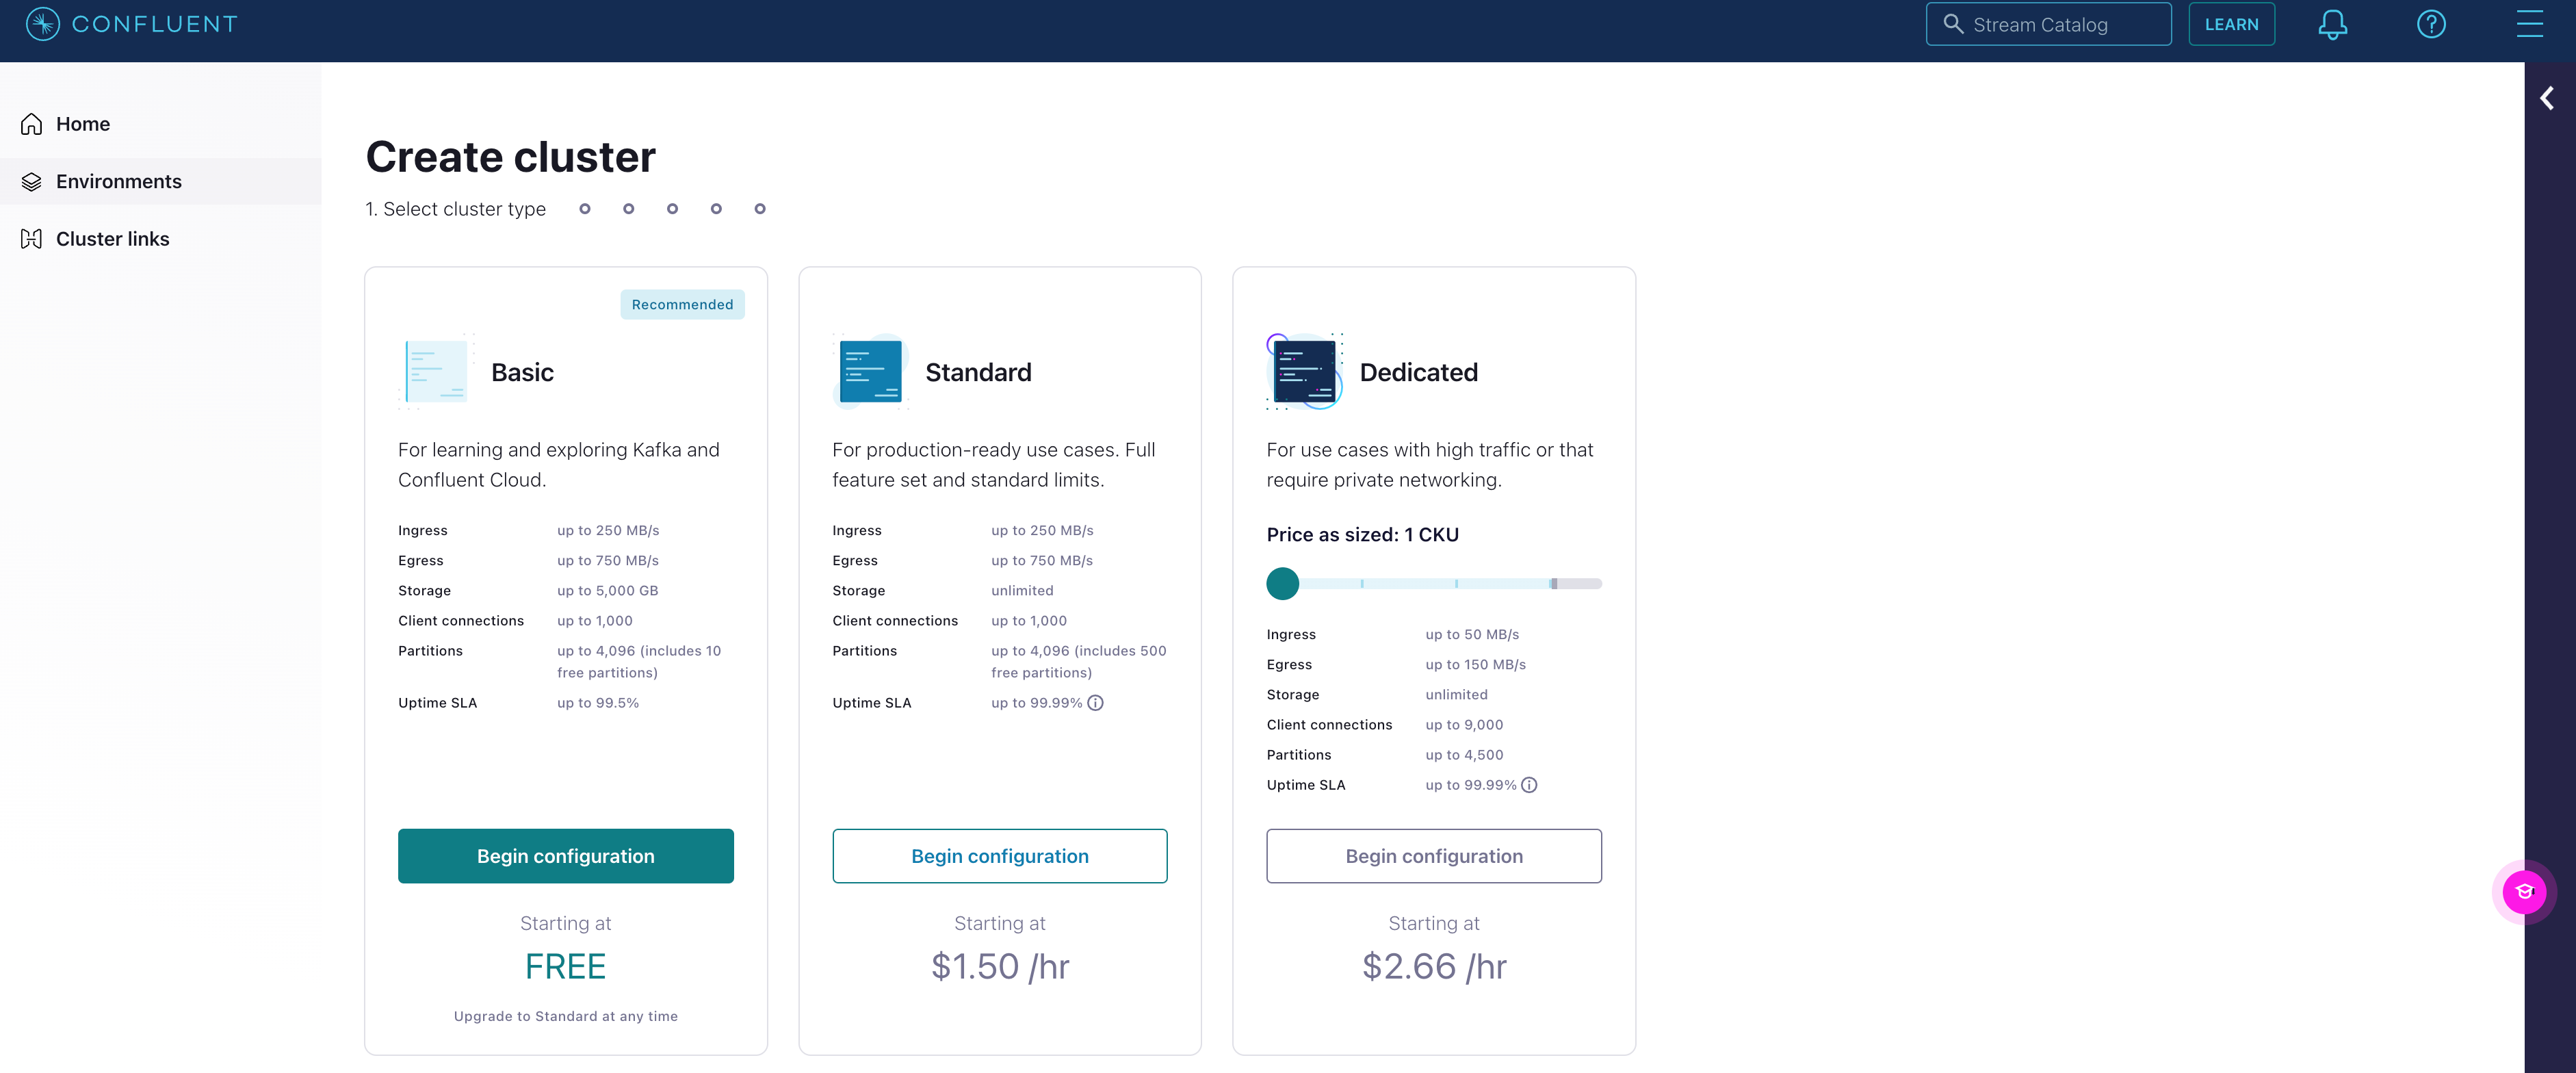
  1. Create a new cluster. Click on Begin configuration under the appropriate cluster type.
  1. Select AWS and the appropriate Region and Availability. Click Continue.
  2. Name the cluster accordingly. Click Launch cluster.

Produce sample data

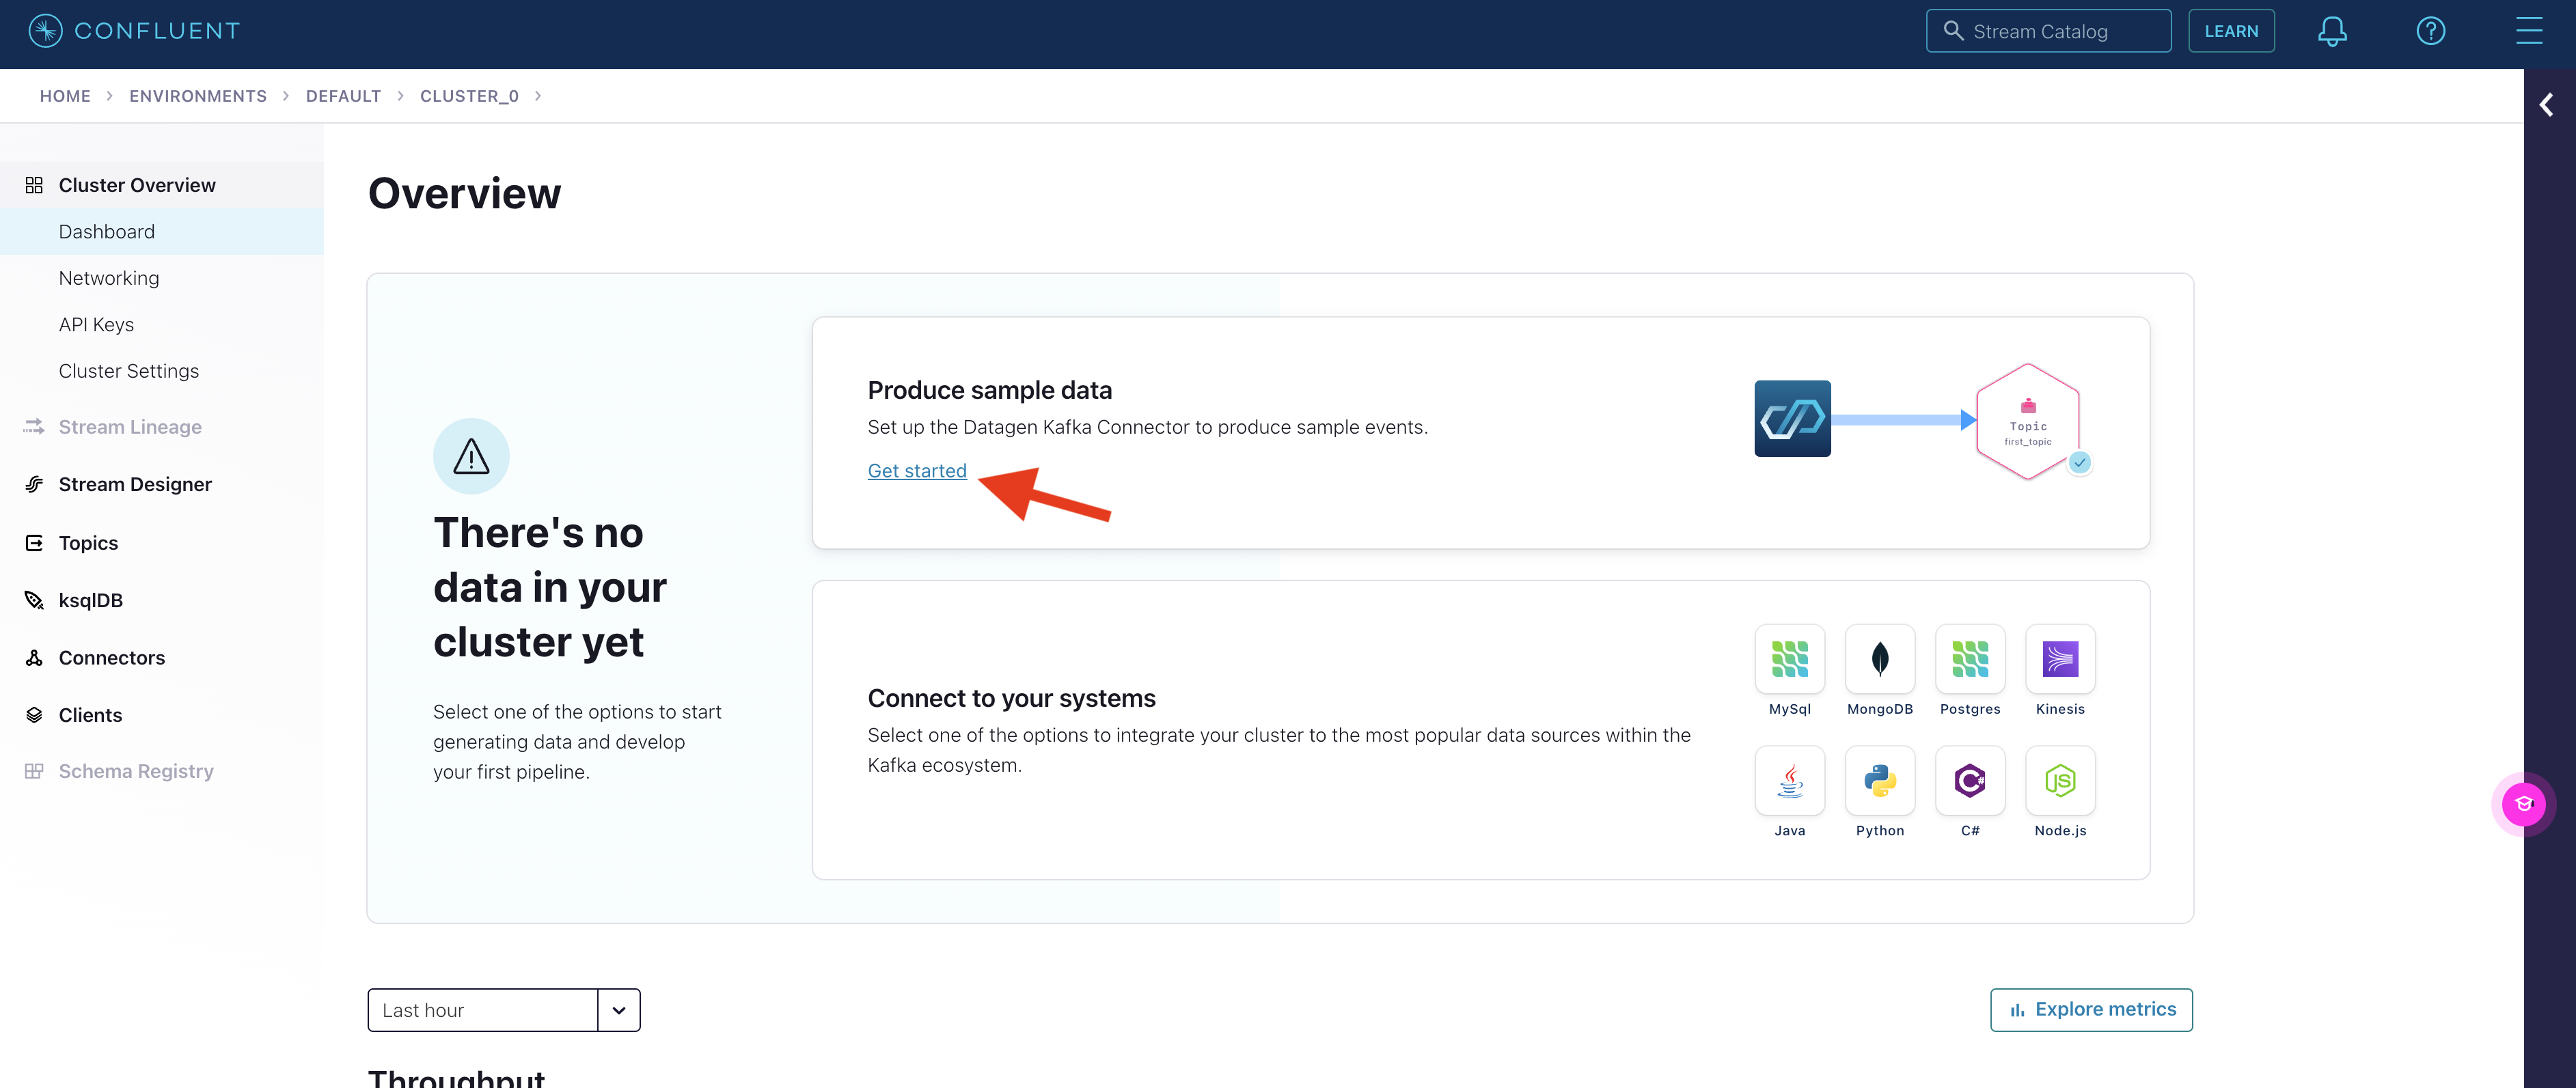
  1. Under Cluster overview > Dashboard, select Get started under Produce sample data.
  1. Click Add a new topic.
  2. Name the topic and input the number of partitions.
  3. Click Create with defaults.
  4. In the Add datagen source connector page, select the topic just made, and click Continue.
  5. Click on Generate API key & download to generate the credentials. Click Continue.
  6. Select the preferred output format and template. For this guide, we will be using JSON and Orders. Click Continue.
  7. Adjust the connector sizing if applicable. Otherwise, leave it at one. Click Continue.

Now the source connector is created.

Connect RisingWave to Confluent Cloud

Create an API key

  1. Select the Confluent Cloud Kafka cluster you just create from the dashboard.
  2. Click the API Keys tab.
  3. Add a new API key for the cluster you just created.

Note that you will need the API key when creating a Kafka source in RisingWave.

Run RisingWave

To start RisingWave, see the Get started guide.

Connect to the data stream

Create a table in RisingWave to ingest data from the Kafka topic created in Confluent Cloud.

The following query will create a table that connects to the data generator created in Confluent. Remember to fill in the authentication parameters accordingly.

See the Ingest data from Kafka topic for more details on the syntax and connection parameters.
CREATE TABLE s (
    ordertime timestamp,
 orderid int,
 itemid varchar,
    orderunits double,
 address STRUCT < city varchar,
    state varchar,
 zipcode int >
) WITH (
    connector = 'kafka',
    topic = 'topic_0',
 properties.bootstrap.server = 'xyz-x00xx.us-east-1.aws.confluent.cloud:9092',
    scan.startup.mode = 'earliest',
    properties.security.protocol = 'SASL_SSL',
    properties.sasl.mechanism = 'PLAIN',
    properties.sasl.username = 'username',
    properties.sasl.password = 'password'
) FORMAT PLAIN ENCODE JSON;

We can query from the table to see the data.

SELECT * FROM s LIMIT 10 ;

        ordertime        | orderid |  itemid  |     orderunits      |         address
-------------------------+---------+----------+---------------------+--------------------------
 2017-07-11 13:10:57.470 |      69 | Item_923 | 0.34482867789025445 | (City_,State_12,79507)
 2017-12-20 04:28:50.333 |     165 | Item_749 |  1.8283880900442675 | (City_,State_,29429)
 2017-10-17 08:54:29.206 |     241 | Item_492 |   9.023949081036958 | (City_,State_6,59279)
 2017-04-09 08:46:59.978 |     314 | Item_722 |   7.759774352468652 | (City_16,State_,39963)
 2018-01-30 01:37:27.704 |     415 | Item_5   |  0.5213453497103845 | (City_8,State_7,12423)
 2017-10-17 21:10:28.110 |     567 | Item_509 |  2.7527961549251914 | (City_16,State_8,82637)
 2017-09-04 10:13:37.337 |     650 | Item_196 |     9.7117407038982 | (City_,State_,79763)
 2018-02-18 13:08:11.272 |     696 | Item_541 |   1.389311132296164 | (City_2,State_87,55001)
 2017-07-26 12:24:49.116 |     874 | Item_7   |   5.914994867745335 | (City_9,State_3,55552)
 2017-10-17 20:06:57.658 |     912 | Item_3   |    8.24318992907263 | (City_73,State_96,62568)
(10 rows)

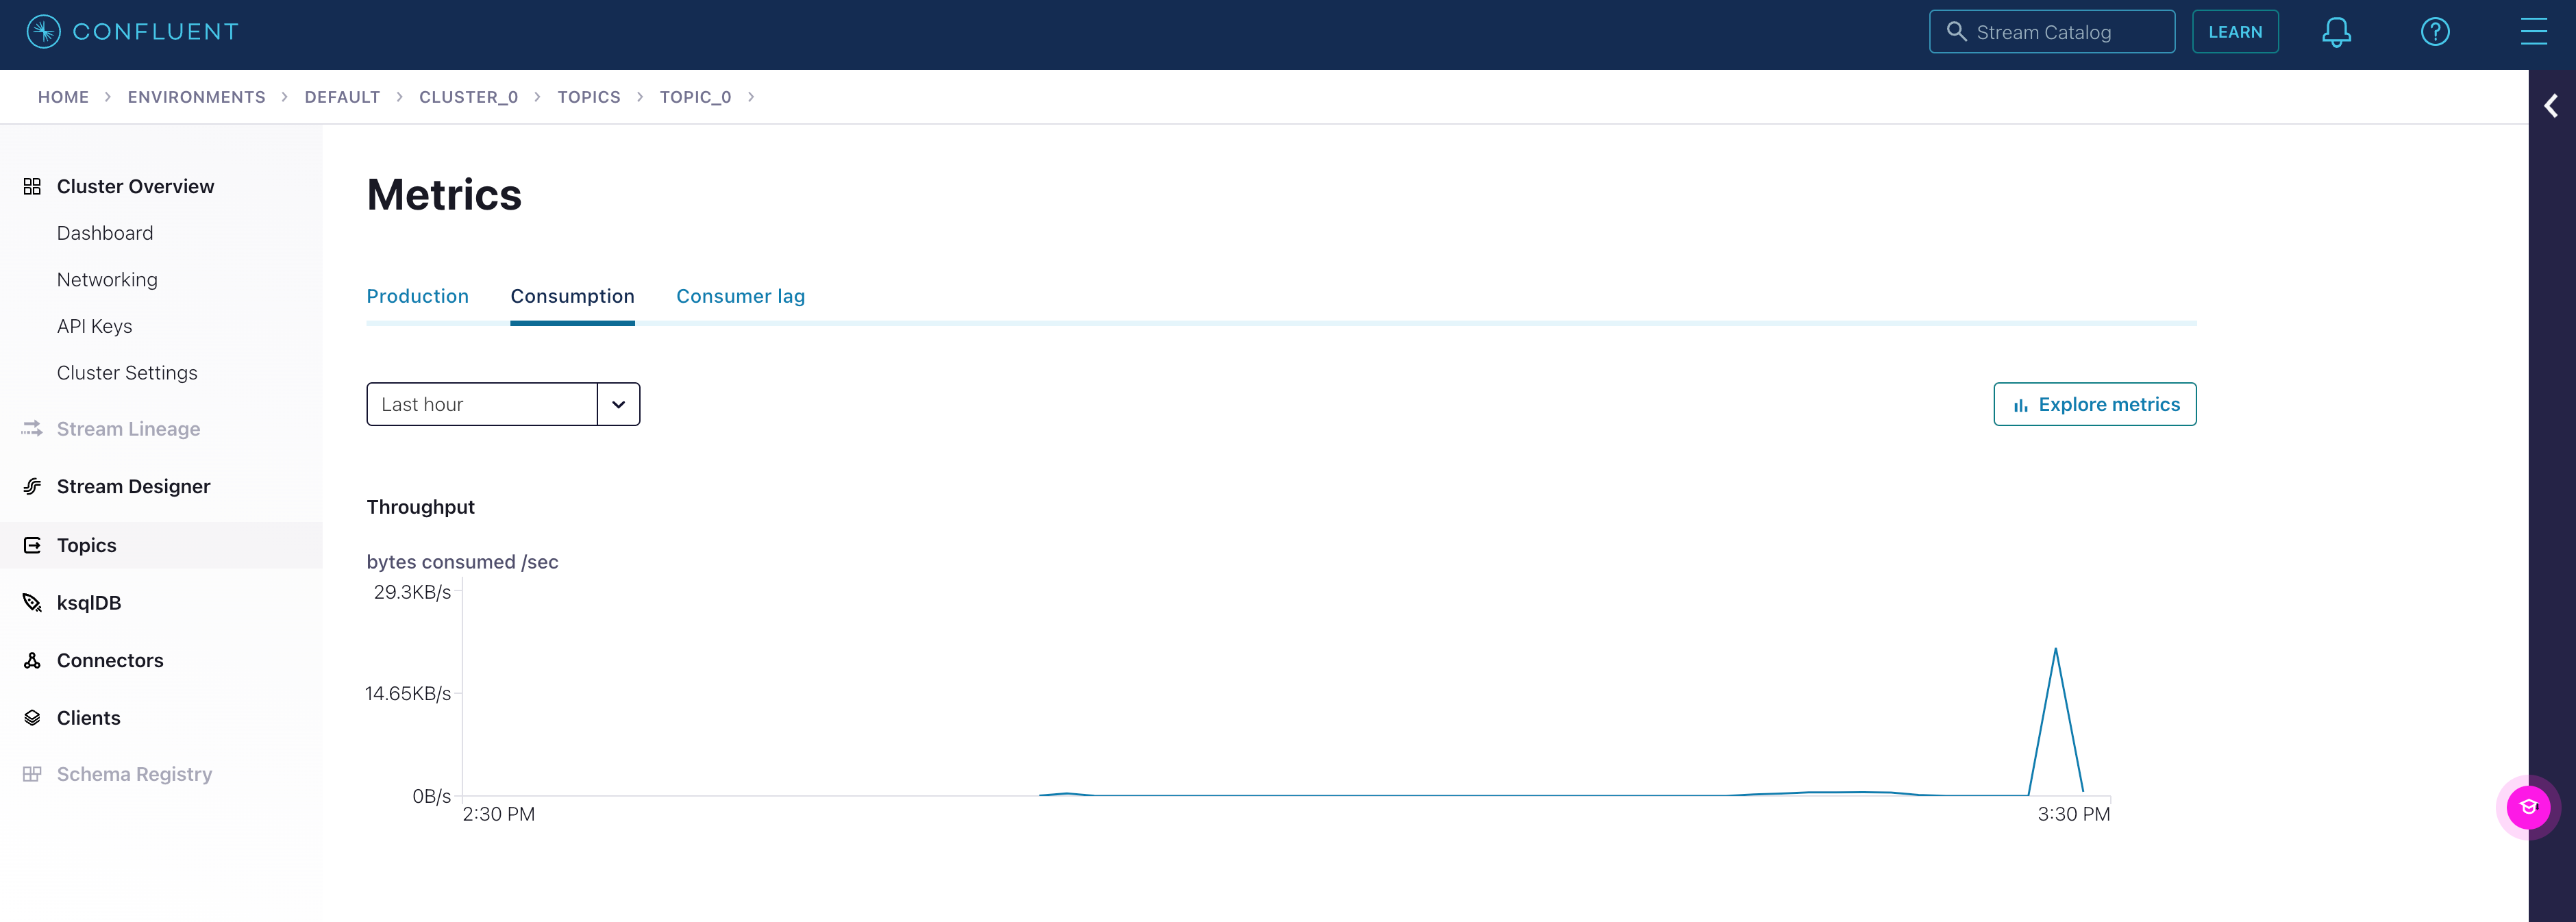
We can also check the consumption progress on Confluent by click on Topics from the sidebar, selecting the topic we just created, and clicking on Consumption.